Bambulab Hotend Upgrade Installation GuideUpdated 2 months ago
Hotend/nozzle replacment - P1P
A detailed youtube video made by NIkko Industries
Nozzle/hotend replacement X1C
A detailed guide made by TryNotToBreakAnything
✅Official WIKI for Hotend Replacement
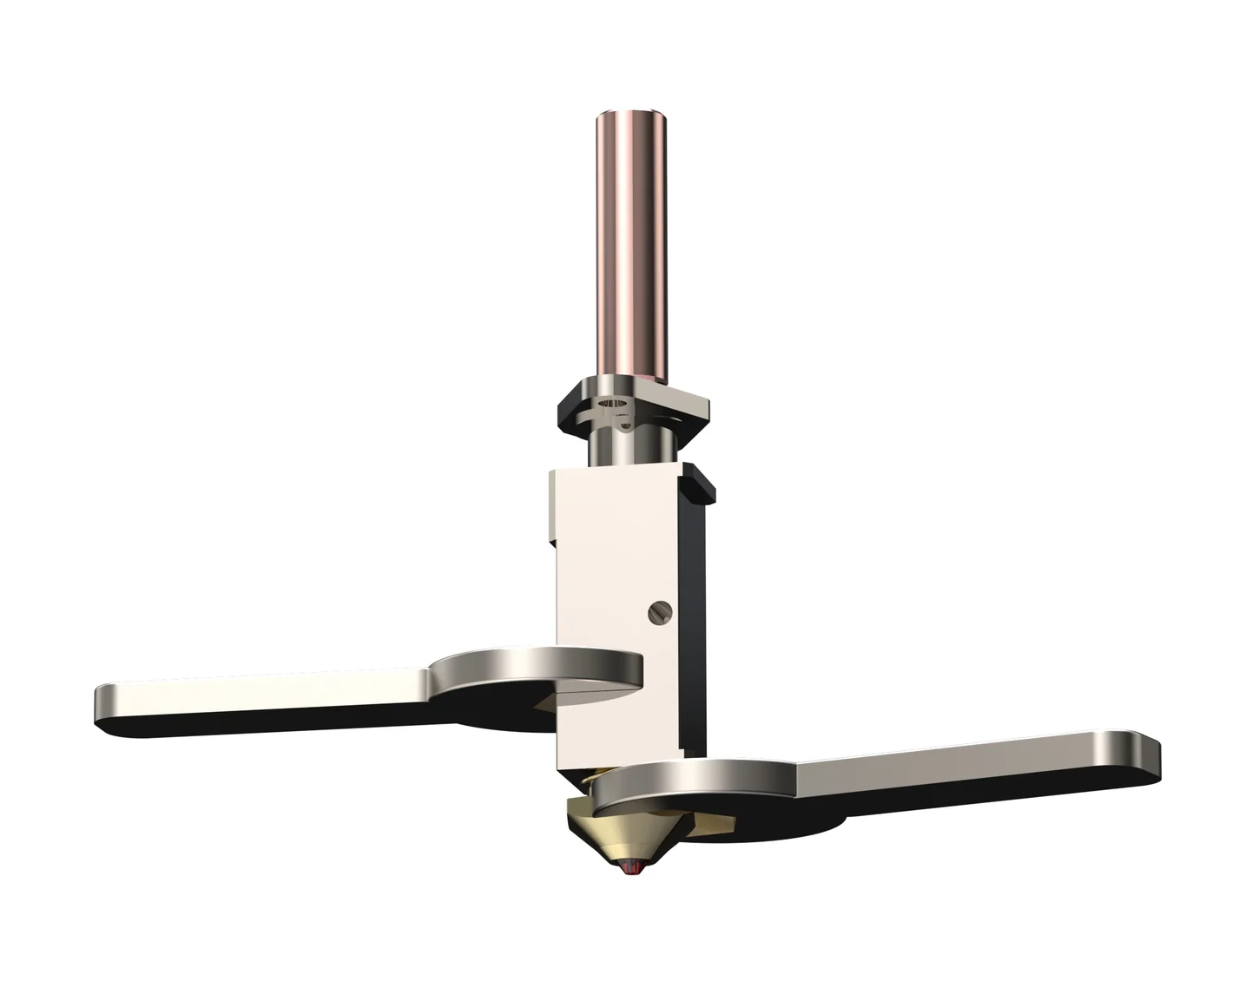
1. Overview of How Parts go together
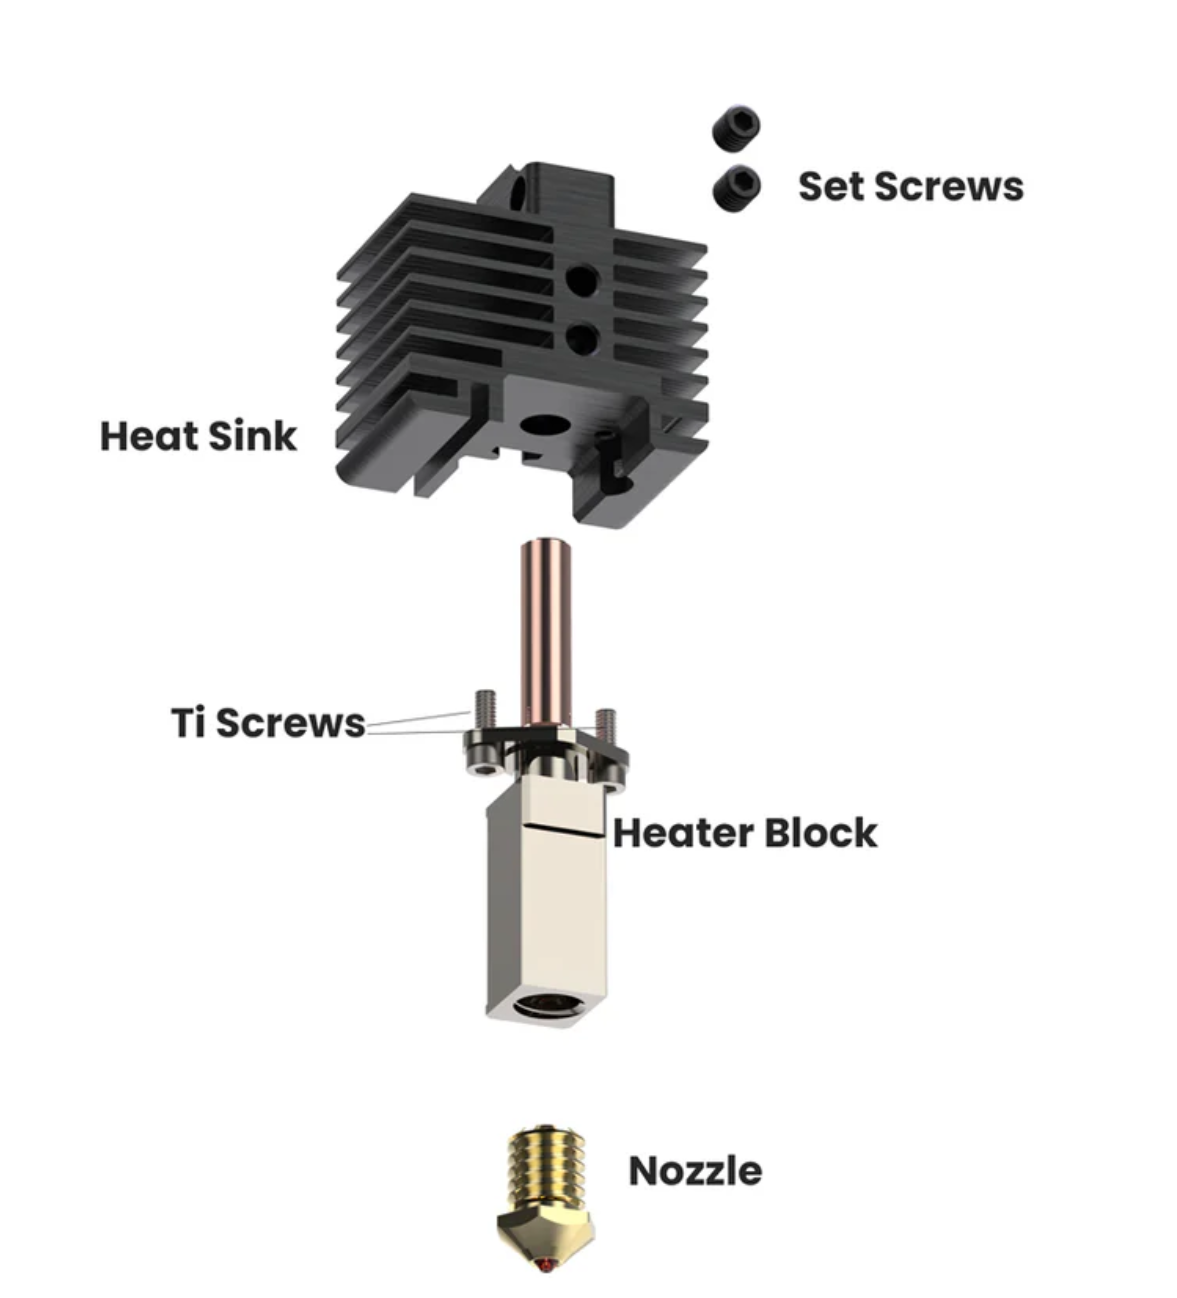
2. Install Nozzle
Use one 7mm wrench to hold the heater block, and use another 7mm wrench for tightening the nozzle. There is no need to make it very tighten at this stage, as we will need to heat up the nozzle and further tighten it later.
3. Insert hotend into heatsink
Just insert the hotend into heatsink and let set by gravity.
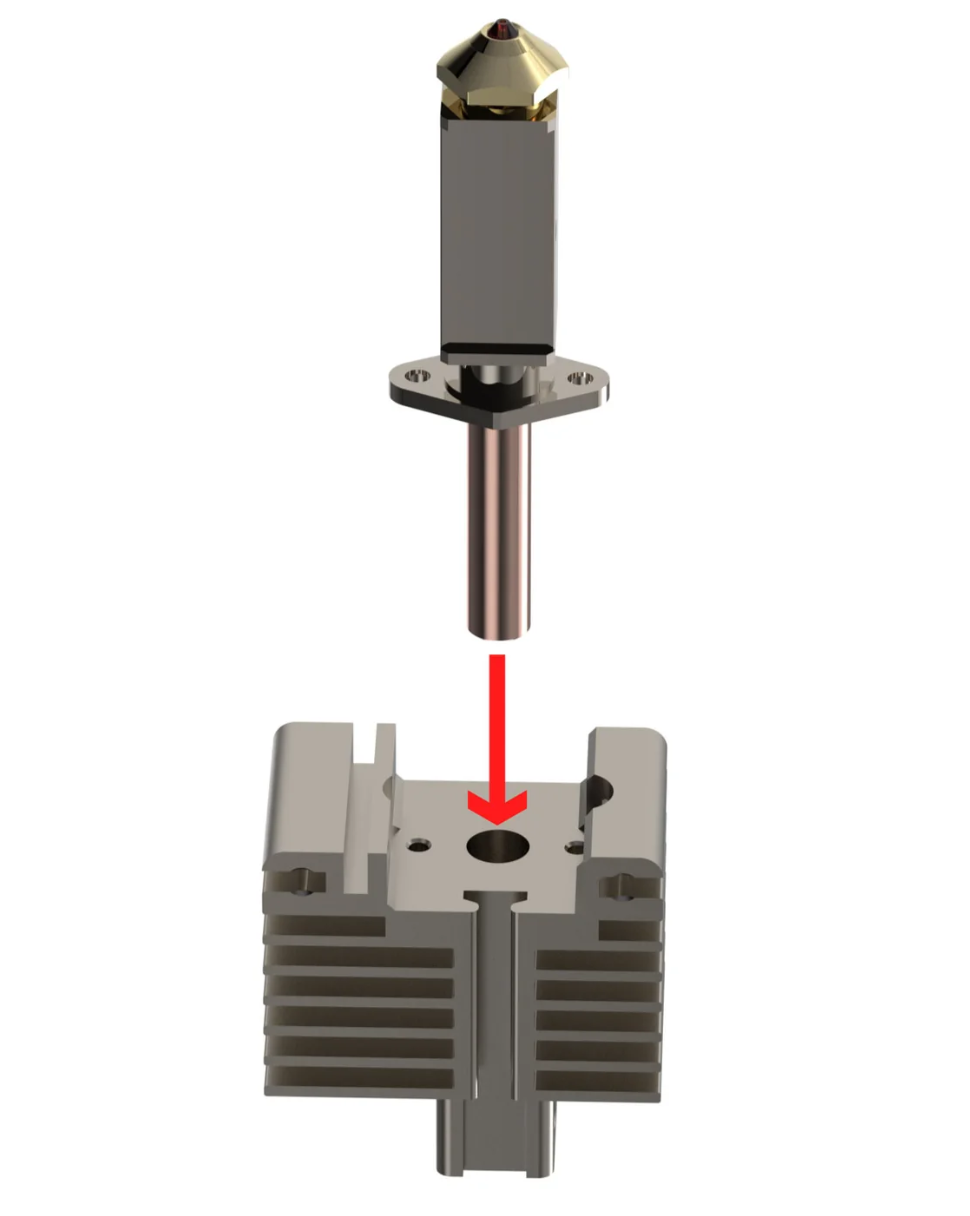
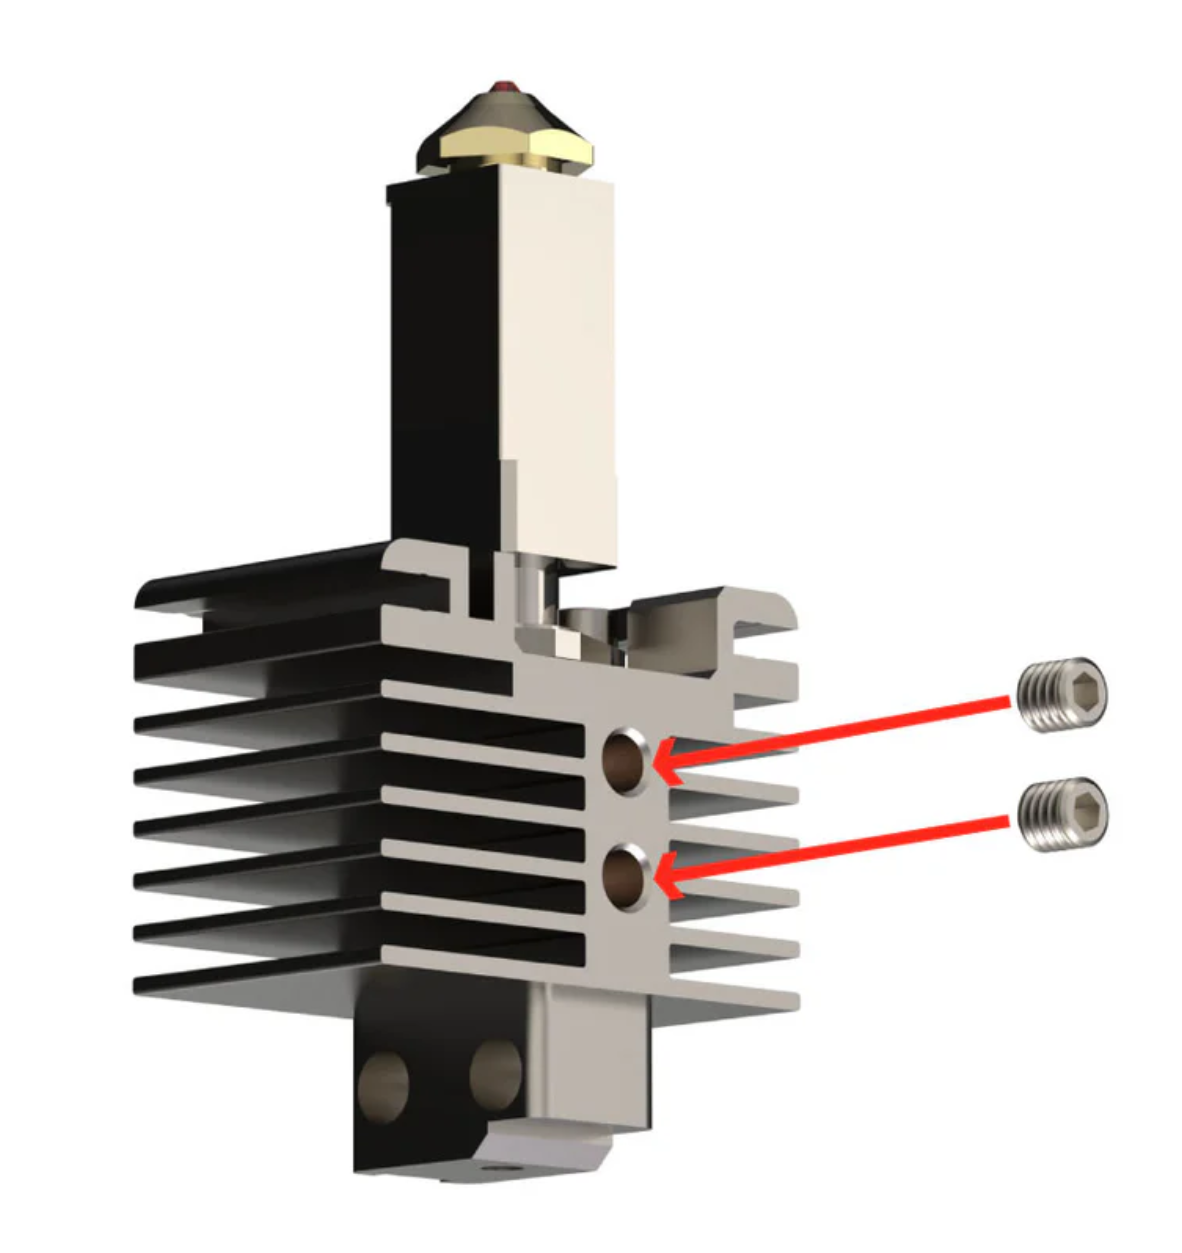
4. Set the hotend in place
Add two set screws to hold the hotend in place.
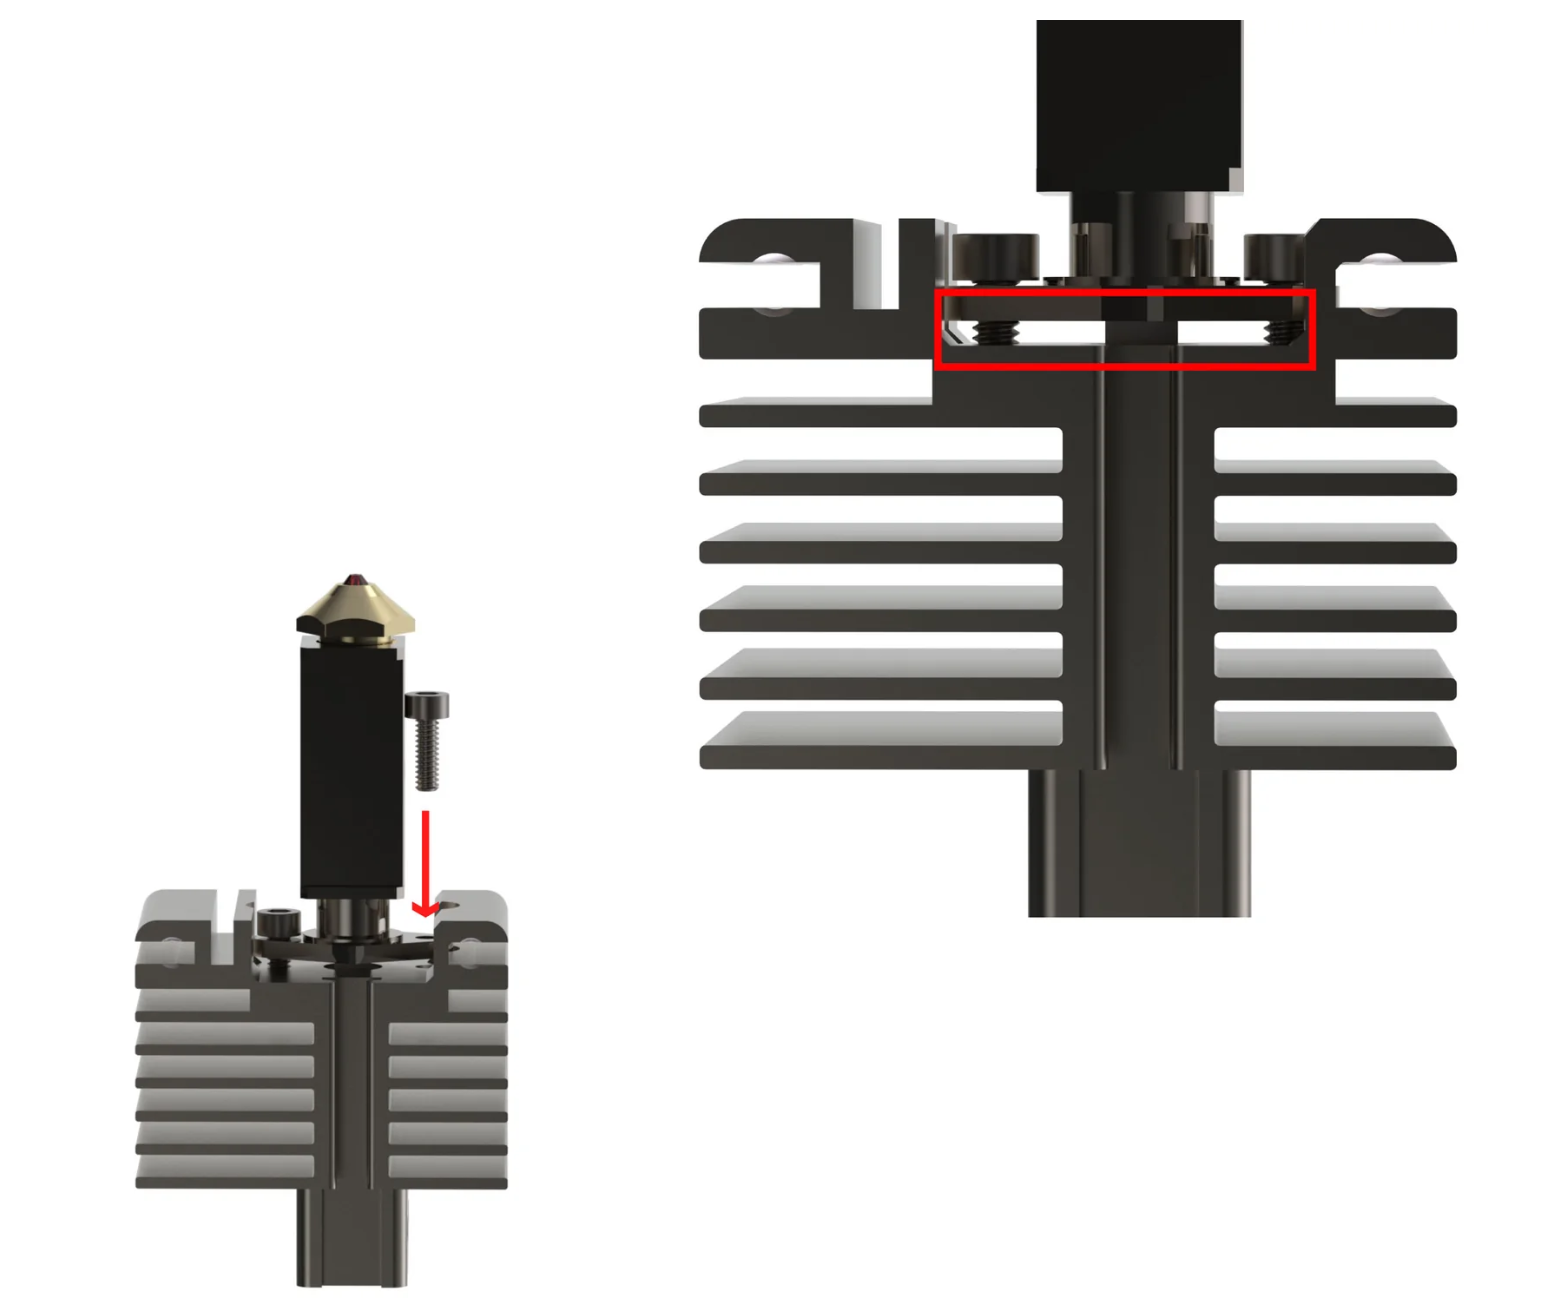
5. Add the Titanium Screws
The titanium screws are not suppose to be very tight. Just let them slightly pressing the flange of the heater block. There should be a space between the heater block and the heat sink.
6. heat up and further tighten the nozzle
Finally, assemble the hotend. Apply thermal paste, put on the ceramic heater, temp sensor, metal clip. Install the hotend to print head and heat up to 200C.
Use the one 7mm wrench to hold the heater block and use the other to tighten the nozzle. Be careful not to over-tighten it as this could destroy the nozzle.